Monthly Archives: June 2014

Thing 189

Martina is at a birthday party tonight. She took the crocheted bunny gift I made earlier this week.

Yesterday I sewed a little zip pouch for it and the other gifts. I still had some squares cut out from the great tissue pouch marathon. Martina picked four different ones and a purple zipper from the stash.

I don’t use a pattern or tutorial anymore but I found this one so helpful when I was learning.


photo 1_142

photo 2_141


I like how it’s four different patterns: flowers, dots, checks and stripes.


photo 3_112


Martina filled it with the bunny, an EOS lip balm, Jelly Belly candies, Mentos and some cash. Then we wrapped it in tissue paper and cello wrap.


photo 4_85

photo 5_49

Who wouldn’t want to unwrap that?


Cost of this Thing: 0
Cost of all Things to date: €235.99


Thing 188

Martina is writing a movie script in which Esther will be playing the role of Annabelle. As part of her costume Esther was supposed to wear a fancy flowered hair clip that a friend brought her from Spain–until I stepped on it and broke it beyond any hope of repair.

I salvaged all the fabric flower bits and promised an even fancier hairband. The show could go on.

First I crocheted a long white chain and attached it to the first stitch, creating a loop. Then I crocheted rows of different shades of pink and red until it was the width I wanted. I also went back to the first row and added another row of pink on the other side.


photo 1_141


I crocheted a tiny little flower to nest in the middle of the other flower layers and stitched it all to the hairband.


photo 2_140


The lovely Annabelle is ready.

photo 4_84


Roll cameras!


Cost of this Thing: 0
Cost of all Things to date: €235.99


Work-in-Progress Wednesday: Thurlow Shorts

Karen at Did You Make That is hosting a Sporty Summer Sewathon, giving me the nudge I needed to open the Thurlow Trousers pattern I bought in April.


photo 1_140


This is a new adventure for me; I’ve never sewn shorts or pants before. I’ve been reading the pattern over, reviewing the sew along over at Lladybird, and today I traced the pattern on to Swedish tracing paper.


photo 3_110


The shorts will be for Martina but I have warned her there is a high likelihood that the first pair will not be wearable. The Sewaholic patterns are designed for the pear-shaped woman, which Martina definitely is not. According to the pattern she is a size 0 by the hips and 8 by the waist. This could be an interesting lesson in fit.

However, the Thurlow trousers are designed with an extension panel at the back seam which can be adjusted for a custom fit fairly far along in the process. So maybe this will work after all. I’ve decided to cut a size 4 and sew along the size 8 back seam line, adjusting as needed.


photo 2_139


I have to admit I feel a bit in over my head when I see all the pattern pieces — 14 in all! I also underestimated the fabric needed. I was going to use the leftovers from the blue Hollyburn skirts I made for Martina and Esther but I’m not sure there will be enough. I’ll investigate tomorrow.

But for now, I have just one more thing to say:

HUP HOLLAND HUP!

That is all.


Thing 187

Martina is going to a birthday party for a classmate Friday night. The panda, horse and sheep were a big hit so I told Martina to find out the birthday girl’s favourite animal. She asked a few discreet questions and got the information she was looking for.


photo 1_139


I used a bunny pattern I bought last year from a really good crochet pattern designer, Planet June. I’ve bought other animal patterns from her as well. They’re well-designed, with clear directions and lots of pictures. They definitely take a bit longer than most of my amigurumi projects but I always love the end result.


photo 2_138


I made the lop-eared version for reasons of cuteness. In fact, it’s the only version I’ve ever made.


photo 3_109


This bunny is crocheted with acrylic and a 3.5mm hook. His eyes are 15mm safety eyes and I stitched a little nose with pink cotton.


photo 5_47


I’m going to make a little drawstring pouch for him later this week. Or maybe a zip pouch for the whole gift (bunny, lip balm and cash). I’ll keep you posted.


Cost of this Thing: 0
Cost of all Things to date: €235.99


Thing 186

This evening I went to a birthday party of a friend and I brought her a travel set as a gift. The zip bag, tissue pouch and business card holder were made some time ago, but I wanted to add a little bag for some tiny soaps from the Fair Trade shop.


photo 1_138


I had a couple of scraps of the bright flowered fabric, just enough to make a drawstring pouch. I added a one inch gusset to accommodate the stack of soaps. The hot pink organza ribbon is from my stash.


photo 2_137


I love this bright summery set. It makes me want to go on a road trip somewhere warm.


photo 4_81

photo 3_108


Happy Birthday, Vivian!


* These photos are strangely filtered. Either it was too sunny or the lens was dirty but the colours are much more vivid in real life. One of these days I need to get myself some photography skills.


Cost of this Thing: 0
Cost of all Things to date: €235.99


Thing 185

Football fever has taken over this country, especially after Friday night’s game. The Netherlands crushed Spain, 5-1, a sweet, sweet win for the Dutch. And then there’s the goal that everyone’s talking about.

Today’s post is dedicated to Robin van Persie, the Flying Dutchman, in honour of the most spectacular football goal ever.


photo 1_137


Robin is crocheted entirely in cotton with a 2.5mm hook. I made up the pattern using what I’ve learned from Elsa and Darth Vader, and then added wings from the Golden Snitch pattern.


photo 2_136


For those who missed the game, here are a couple of live action shots of the goal:


photo 1_136

photo 3_106


Hup Holland Hup!


Cost of this Thing: 0
Cost of all Things to date: €235.99


Thing 184

Last year I made a baby blanket for my friend, Kathryn, who was expecting a baby boy. Early this year I pulled out the last tiny scraps from that project and made Thing 5, a tiny zip pouch.


photo 1_2


Kathryn and baby Eben are visiting and today’s Thing is a little gift for Eben: a purple crocheted elephant to go with the elephant zip pouch to match his cosy blanket.


photo 1_133


The pattern is Incy Wincy Elephant from Lucy’s blog. I used a 2mm hook and purple Catania cotton.


photo 3_103

photo 4_78

photo 2_132


A cute little elephant for an even cuter little boy!


Cost of this Thing: 0
Cost of all Things to date: €235.99


Thing 183

It’s been an epic journey but I have arrived and the Belcarra blouse is complete.

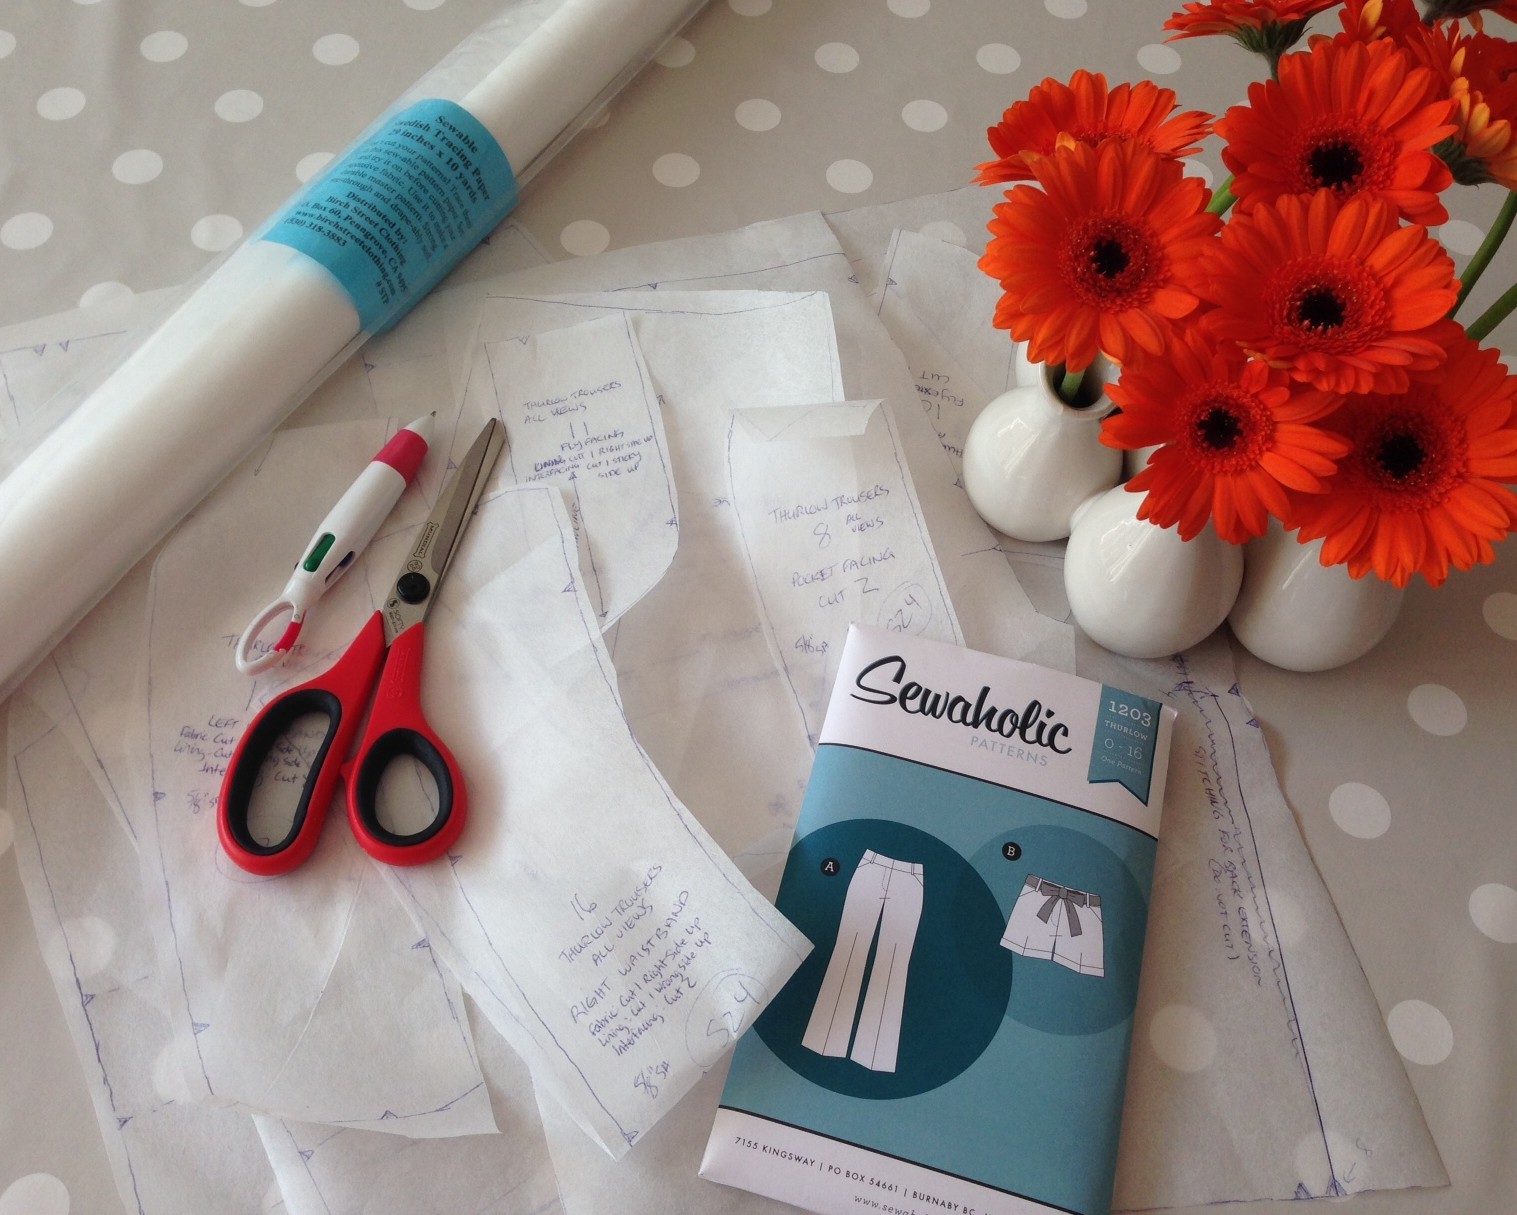
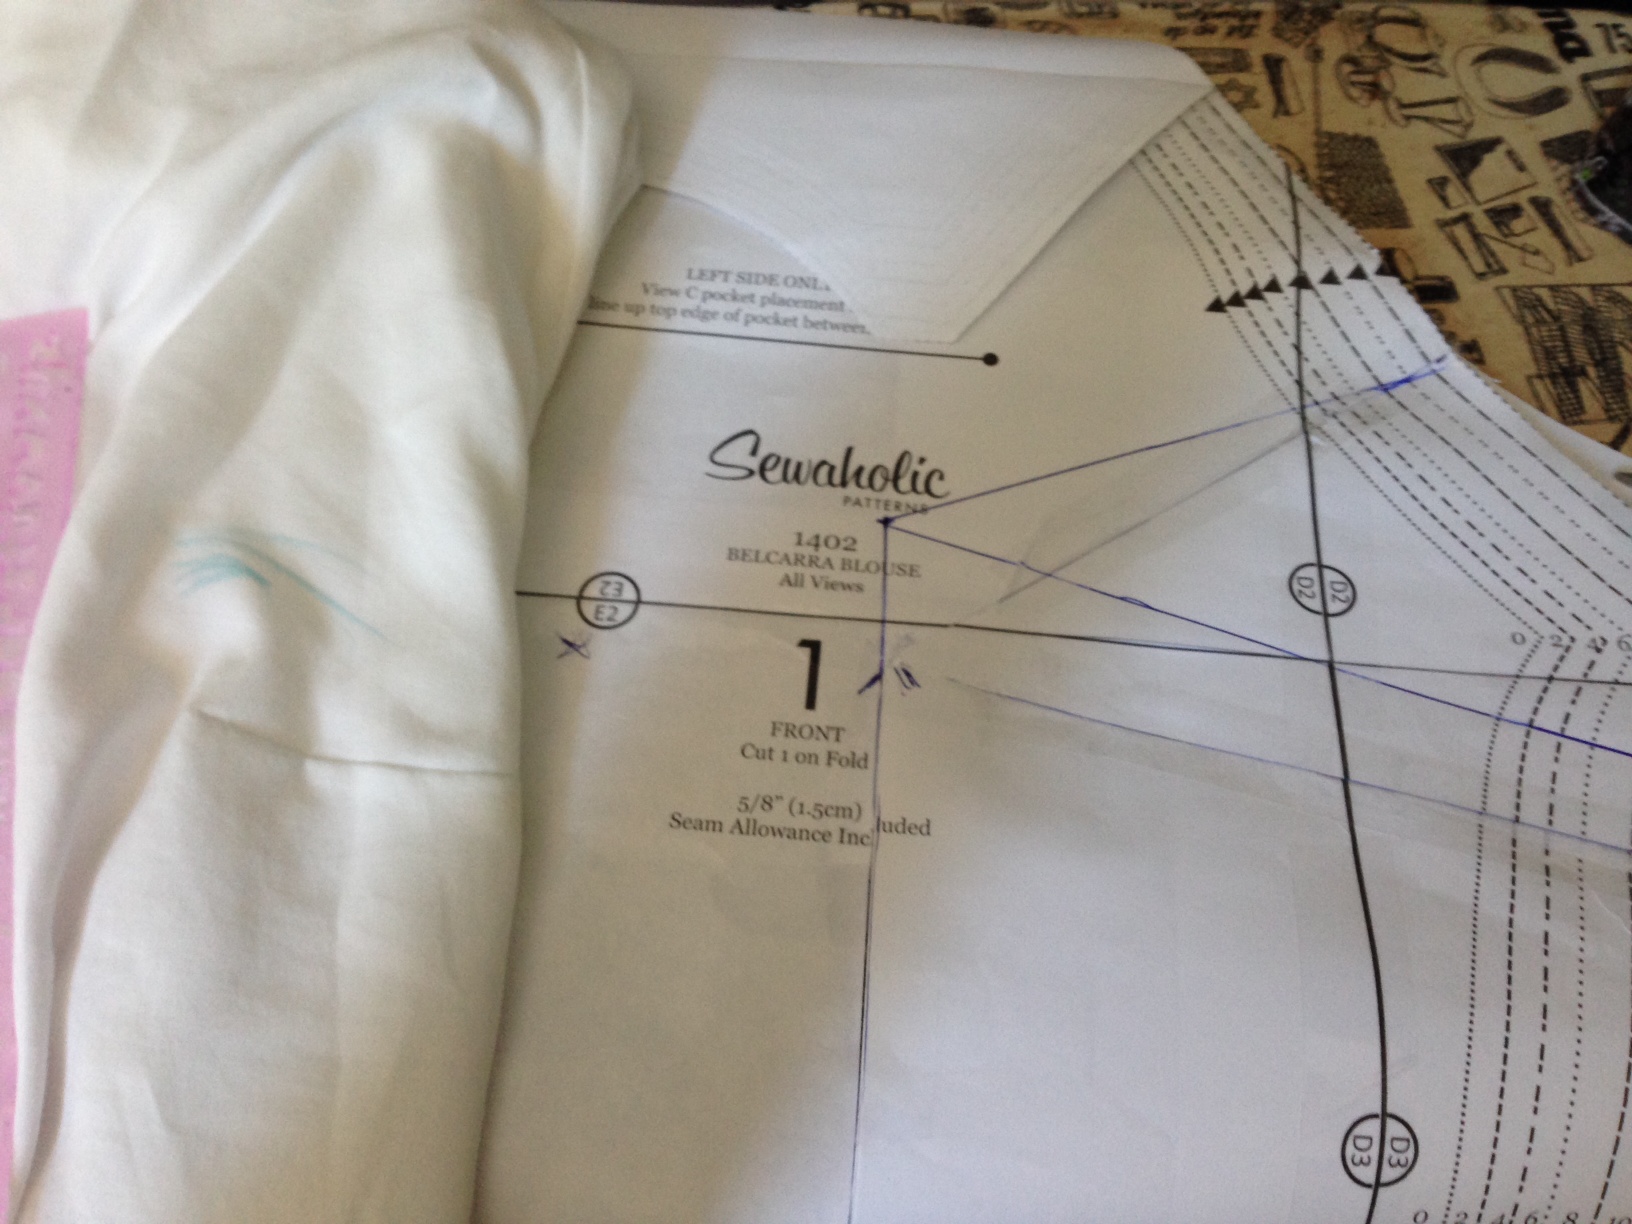
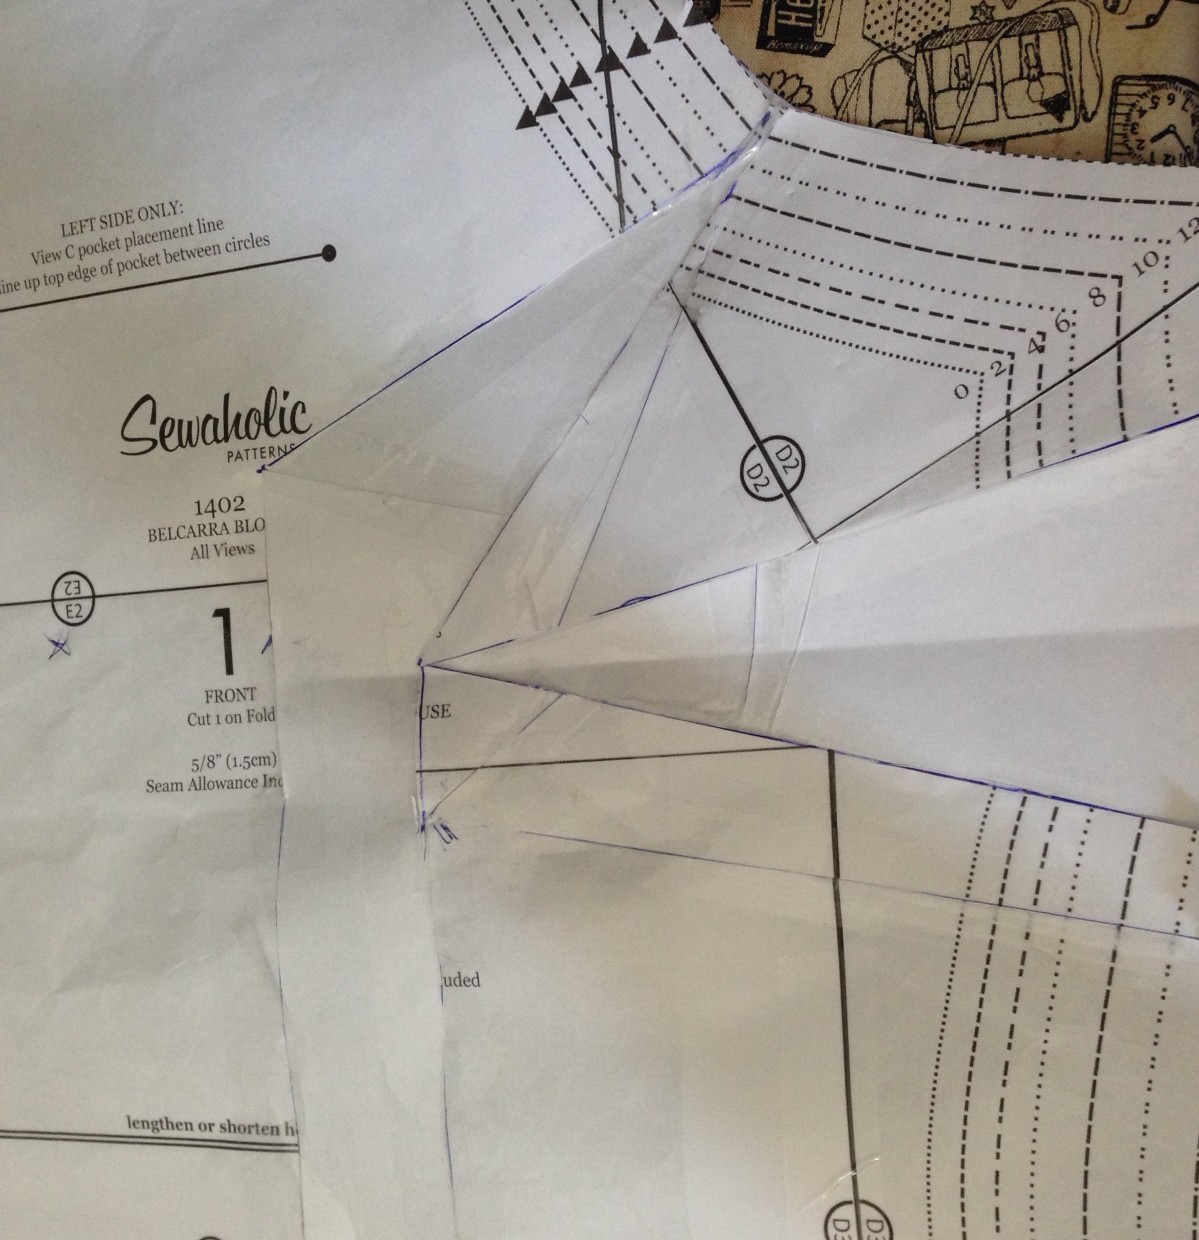
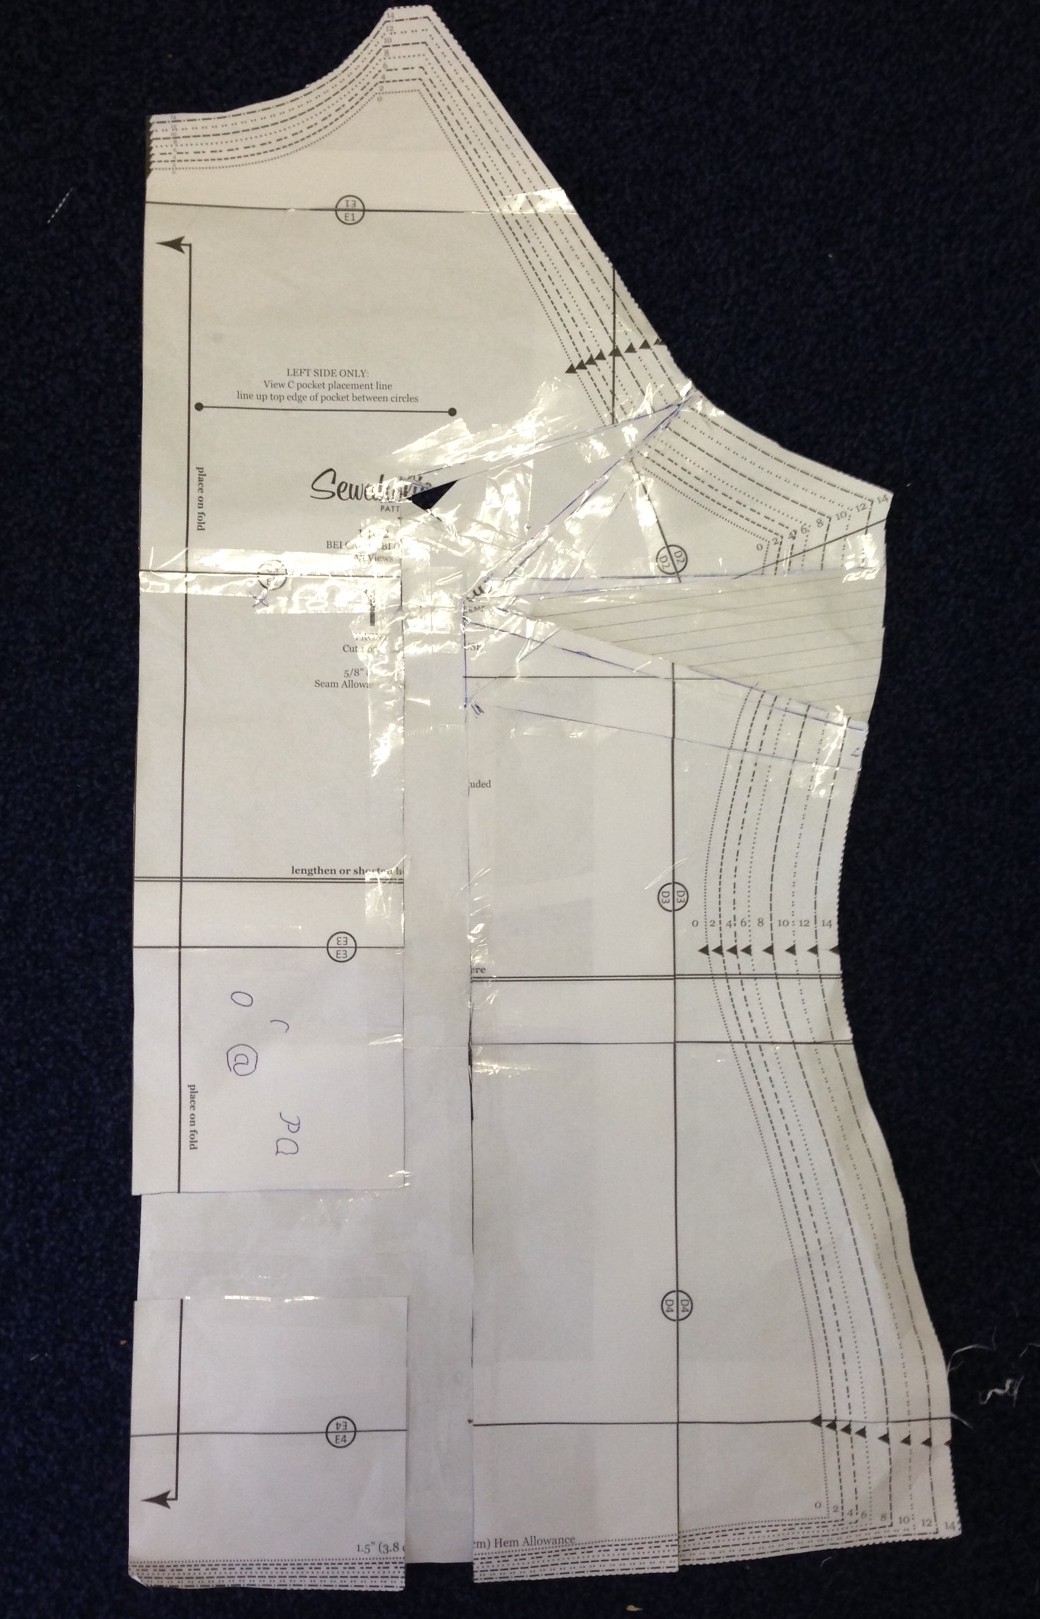
Last night I hacked up the pattern again, raising the darts a bit and decreasing the FBA to one inch (from one and a half). I whipped up a third muslin based on the changes and the fit was almost right. The darts were just a touch too high now. This morning I adjusted the pattern one last time, lowering the dart point by a smidgeon. The front pattern piece is now more scotch tape than paper. See how shiny!


photo_43


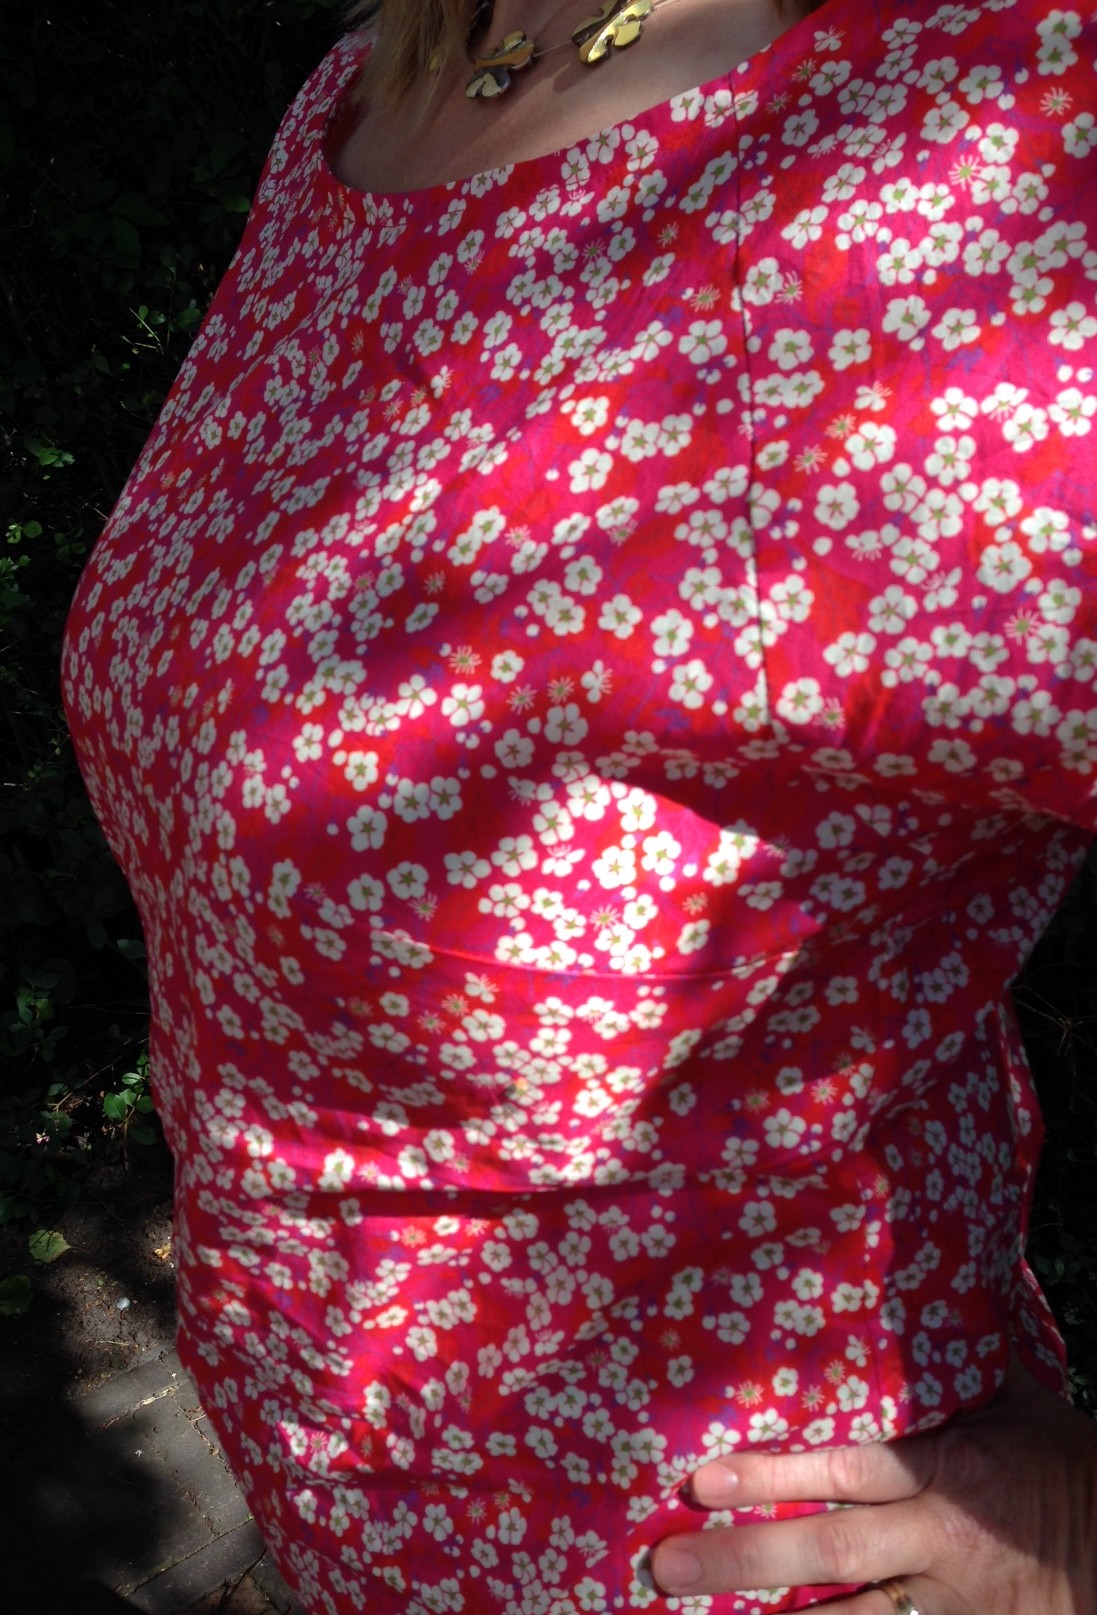
I didn’t bother testing it out and instead used the finalized pattern to cut into my Mitsi fabric from Liberty.

Sewing together the front, back and sleeves was a breeze. It was my fourth time, after all. The neckline took a bit longer. I was sewing with the wrong side facing up but then the front went all ribbly. I picked all the stitches out and sewed again, this time with the front facing up. That worked much better.

The sleeve cuffs were easier than I expected. I thought they had to fold up but that’s View C and I had cut out the pieces for View A. That explains why the fold-up cuffs didn’t work out so hot on my first muslin.

I serged the bottom edge and then hemmed with invisible stitching. Because this fabric is a dream to work with and presses crisp and clean this was my easiest and neatest invisible hem yet. I may take up the length but that’s a job for another day.
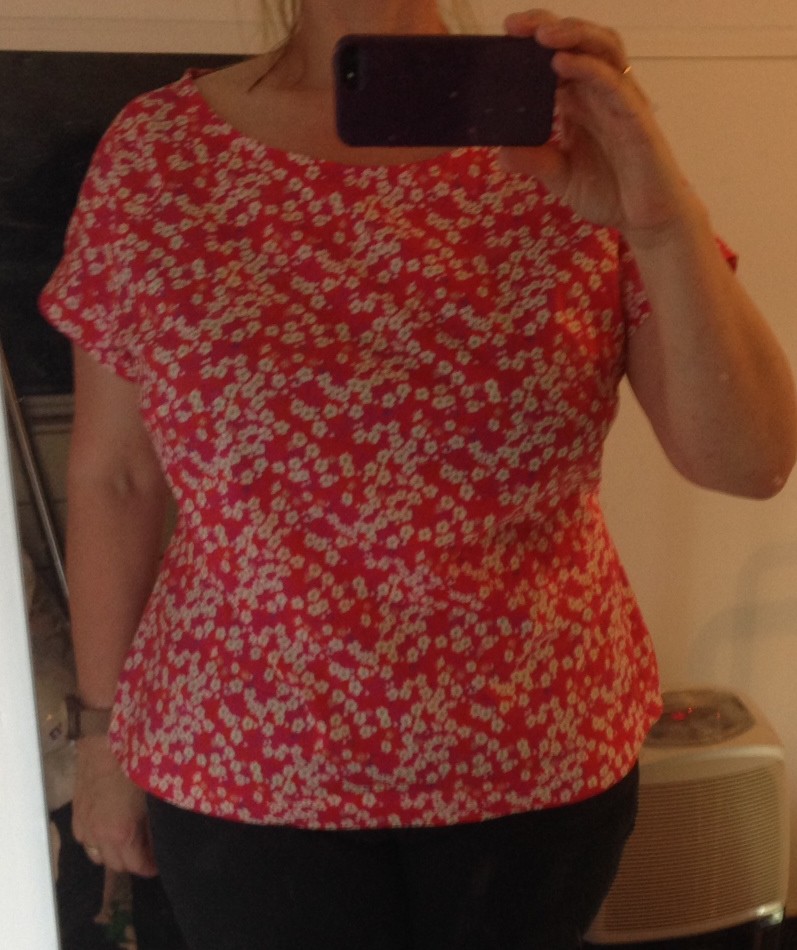
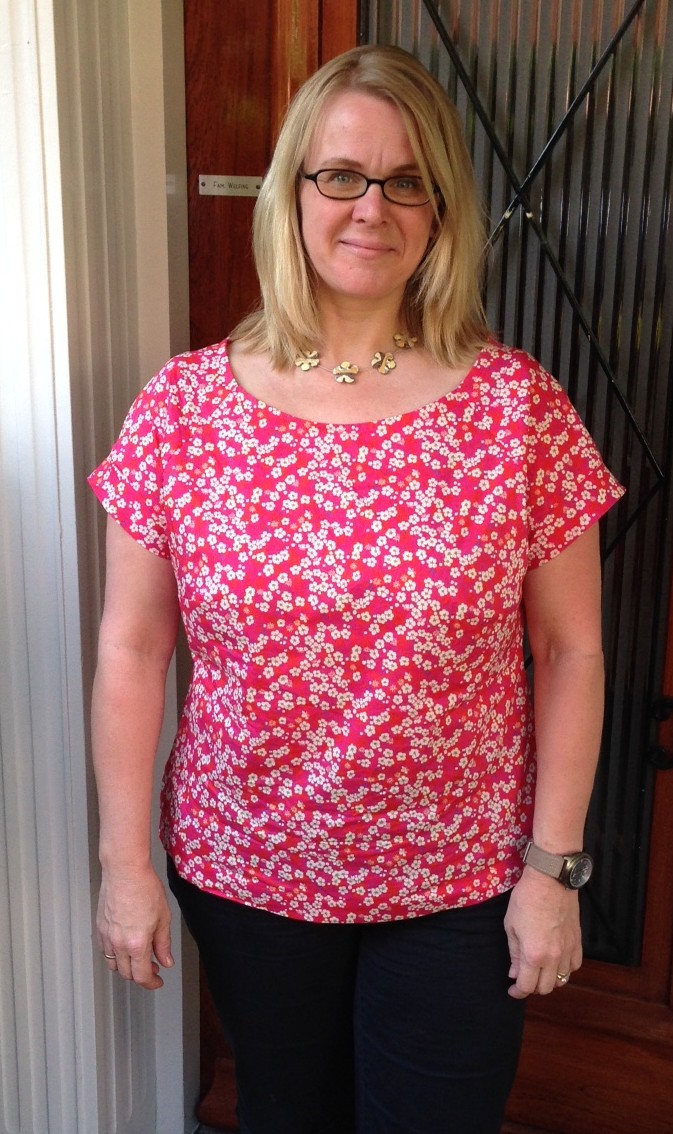
Ta-da!

First, selfie shot in my sewing room:


photo 1_130


Then Sandor came home and I roped him into taking some shots of me outside:


photo 1_132


The fit is great! This has been a huge learning experience for me, doing an FBA. Thanks, Caroline at Sewaholic for the sew-along and extra tutorials!


photo 3_102


I just spent an hour in an un-airconditioned car so I’m a bit wrinkly.


photo 4_77


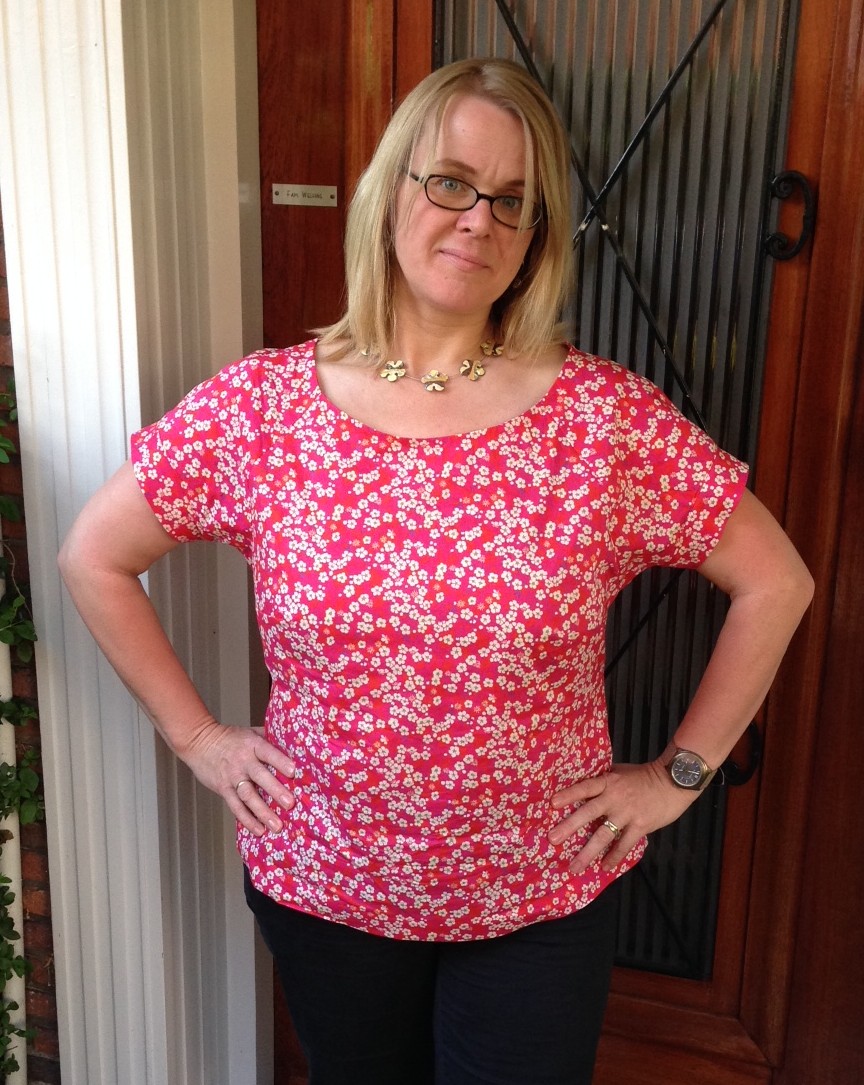
We’re going out tonight and I’m going to wear my new blouse, paired with jeans and my favourite Camper heels.

I’ll be making more Belcarras.  It would be a pity to let all those muslins go to waste. I saw some slinky, drapey fabric at the Haagse Markt, and at 3 euros a metre I can squeeze it into my budget.

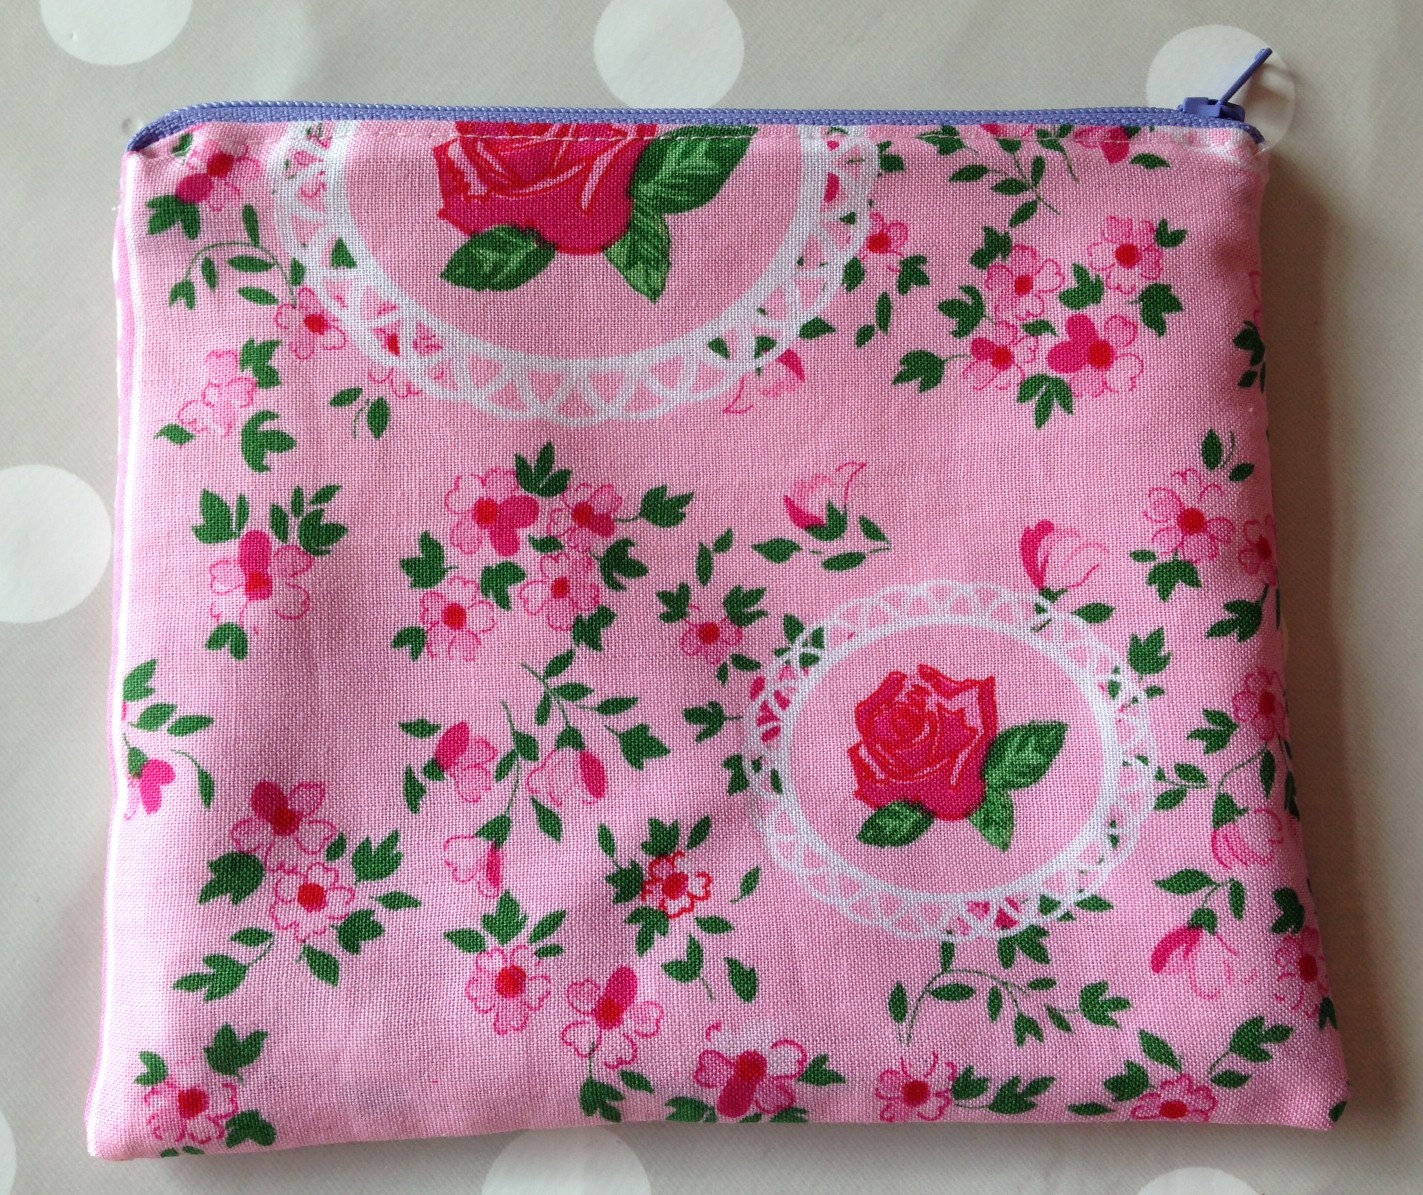
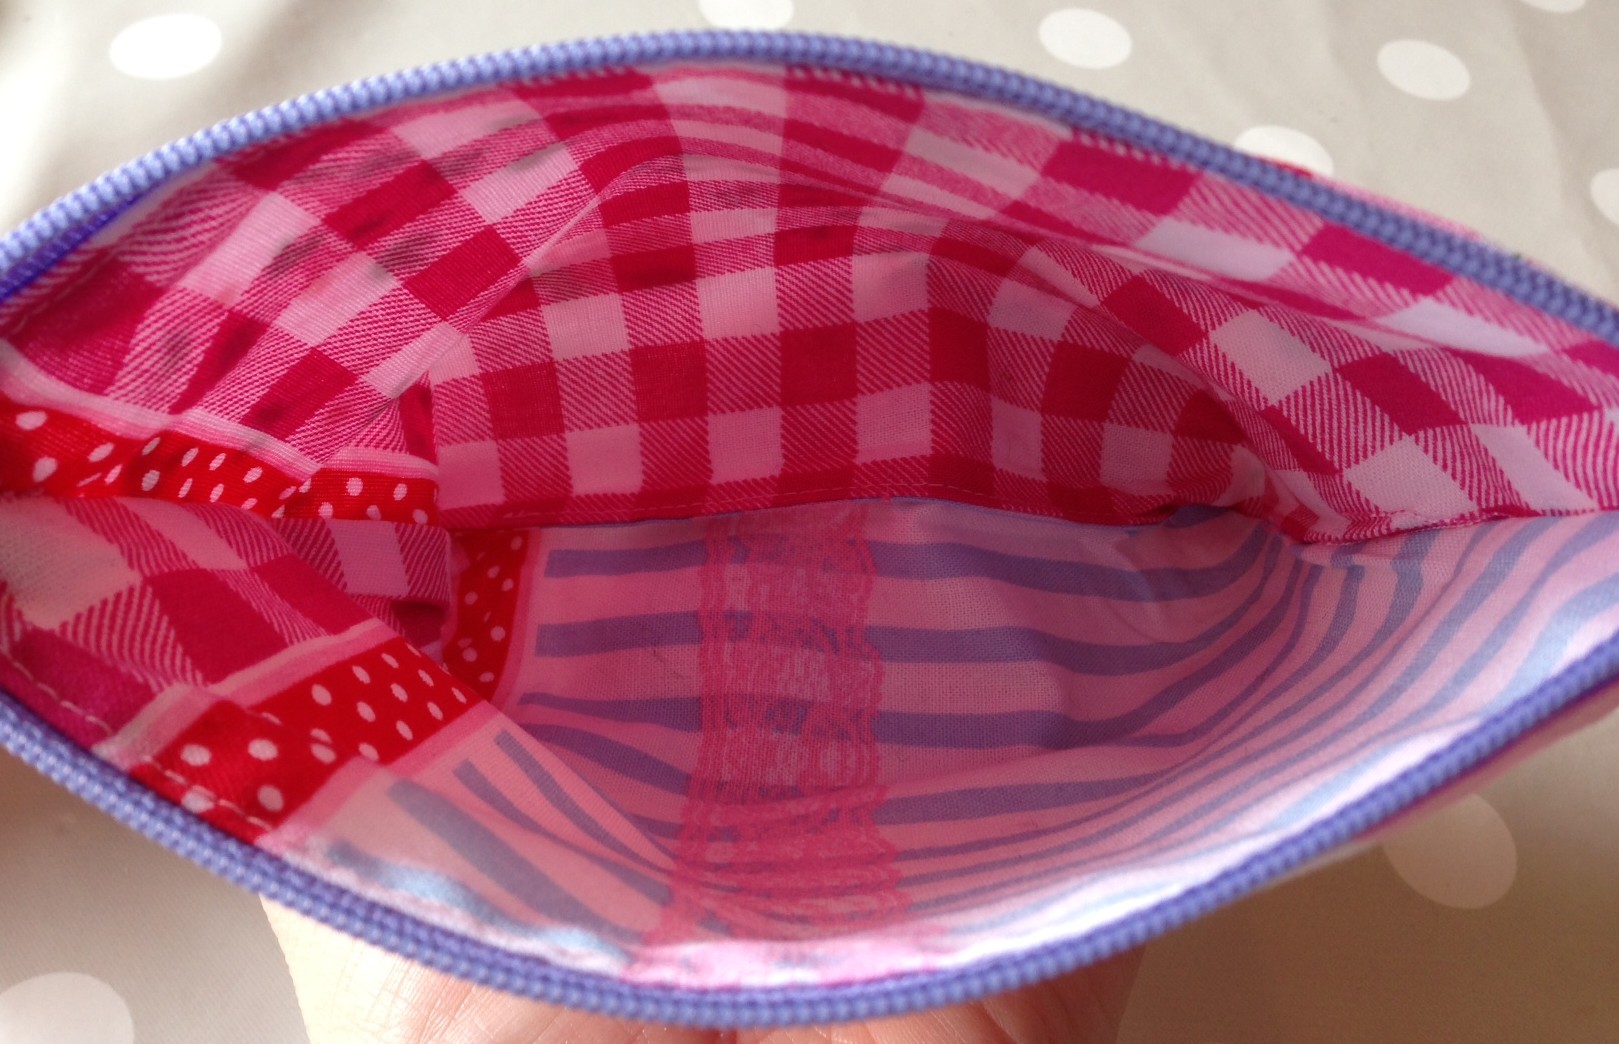
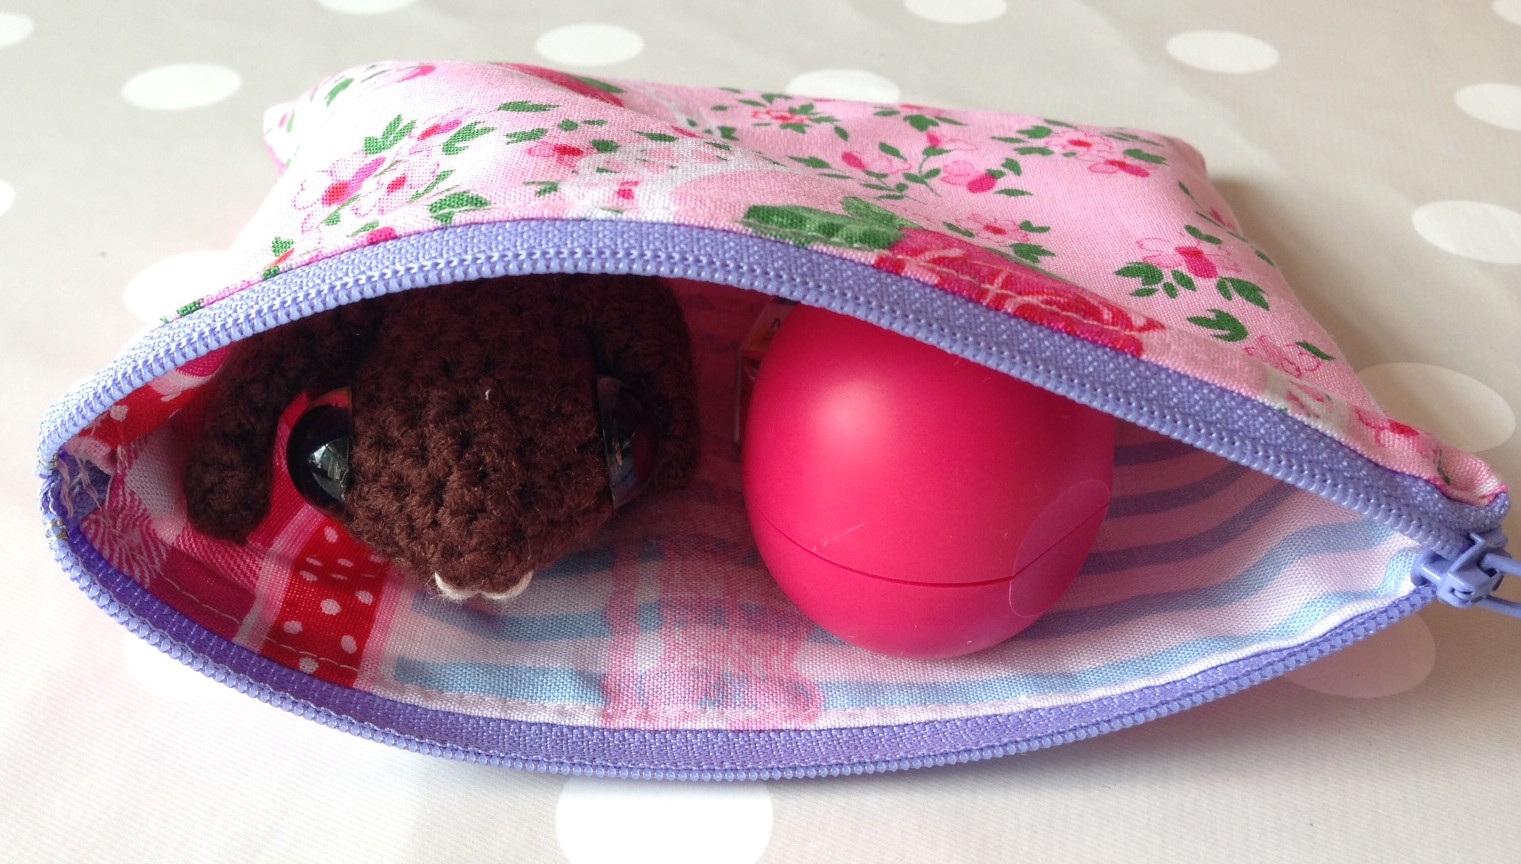
I also still have enough of the Mitsi fabric left to make a few small Things, which is fortunate given the state of the budget.


Cost of this Thing: €34.37 (27.57 for the fabric, 6.80 for the pattern)
Cost of all Things to date: €235.99


Thing 182

Last night I splurged. Instead of using scraps of beading wire to make yet another bracelet, I pulled out the spool of wire and made a necklace. I could make it as long as I wanted! (As it turns out, it’s actually pretty short.)


photo 1_129


It’s a mix of glass, Swarovski pearls, metal rounds and seed beads. The pearly seed beads are pretty but, oh, what a pain to string. That part took the longest. To finish it off, a simple and delicate clasp was called for and this gold-filled hook-and-eye fit the bill.


photo 3_100


Thanks, Martina, for offering your neck. For art.


Cost of this Thing: 0
Cost of all Things to date: €201.62

Work-in-Progress Wednesday: The Belcarra Saga Continues

Last week I sewed up my first bed-sheet Belcarra. The fit was a bit on the saggy side. Today I pulled out the pattern and another bed sheet to have a second go at it.

I tried on the first muslin and marked where the darts should be. Then I reassembled the pattern to its original state and transferred the new markings.


photo 1_128


The darts are higher now, and a bit more sharply angled. I hacked and slashed and taped it all back together.


photo 2_128


Since the purpose of this muslin was to work on fit I only cut out the front, back and sleeves. It took just twenty minutes on the serger to get this far.


photo 3_99


I think I’ll push the dart up another half an inch and run up another muslin. Whew! The learning curve is strong with this one. But I’m getting closer…