Have you seen Frozen yet? What a beautiful movie! It’s my favourite Disney film in a long time. And I even still love the soundtrack, despite having heard it no less than 300 times in the last month. My oldest daughter has learned “Let it go” in English, Dutch and French, and is now working on the Spanish version. And have you seen the youtube sensation: Maddie and Zoe sing, “Let it go”? The cuteness, oh, the cuteness.
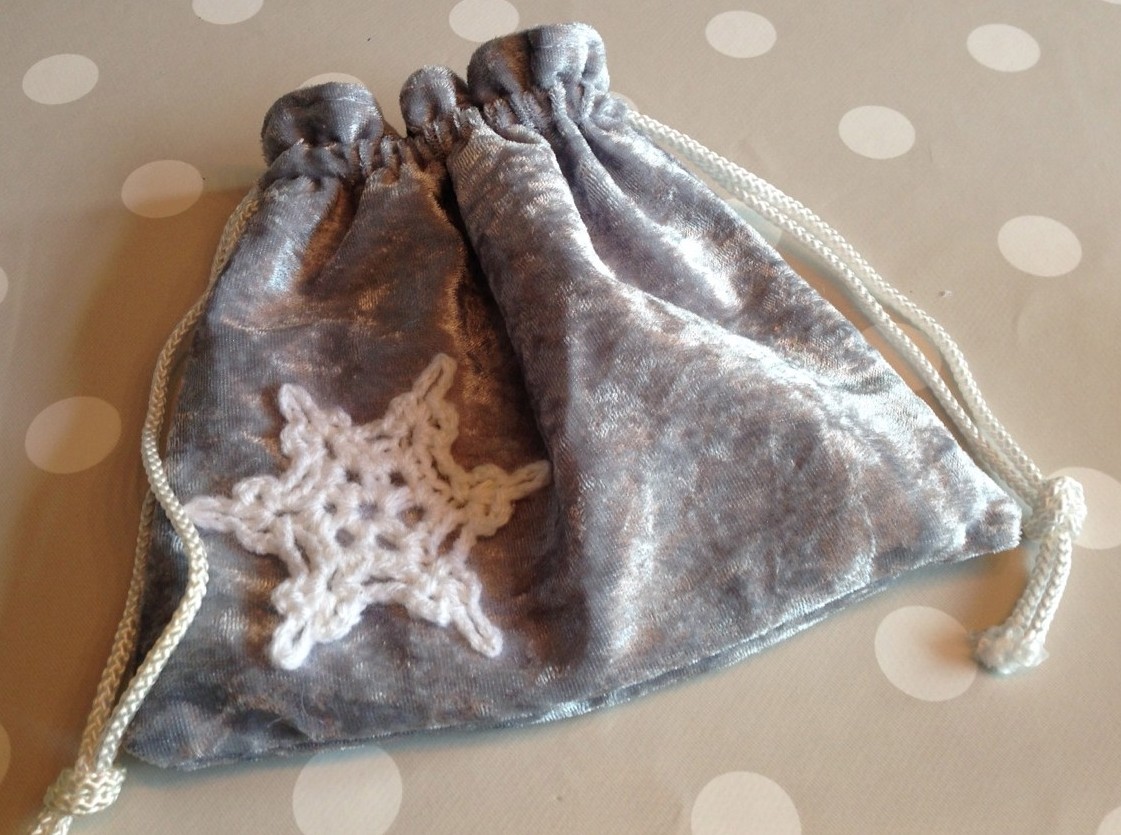
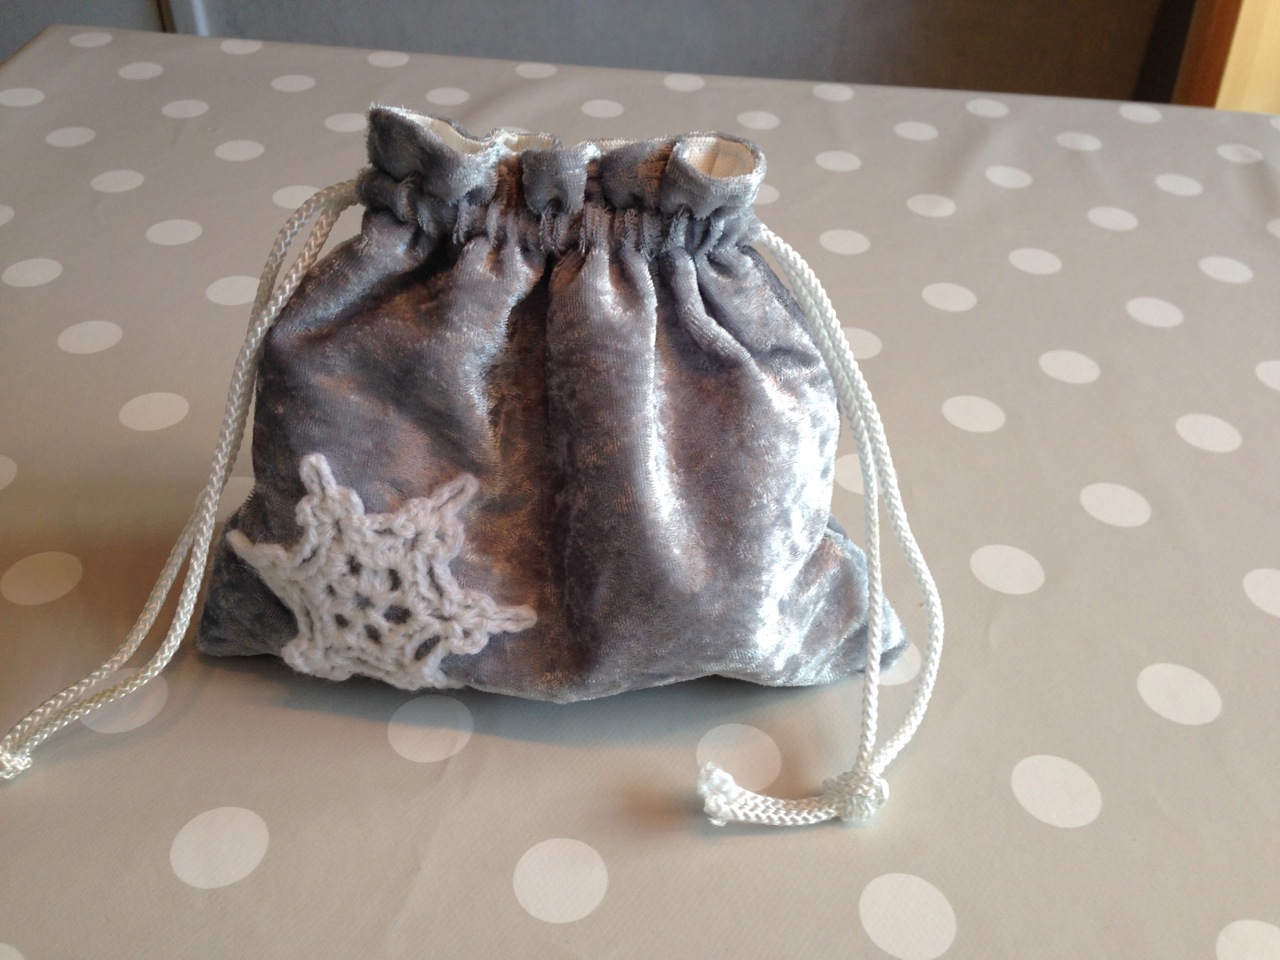
My younger daughter needed a birthday gift for her friend, and as they share an affinity for all things Frozen, I started googling patterns. With my project budget, I was aiming for free. And I found it! It’s a French blog, but if you speak crochet it’s pretty easy to figure out. She has patterns for Olaf and Elsa, and it wasn’t hard to adapt the Elsa pattern to Anna for a complete set.
I used a 3.5mm hook for everything except Olaf’s carrot nose.
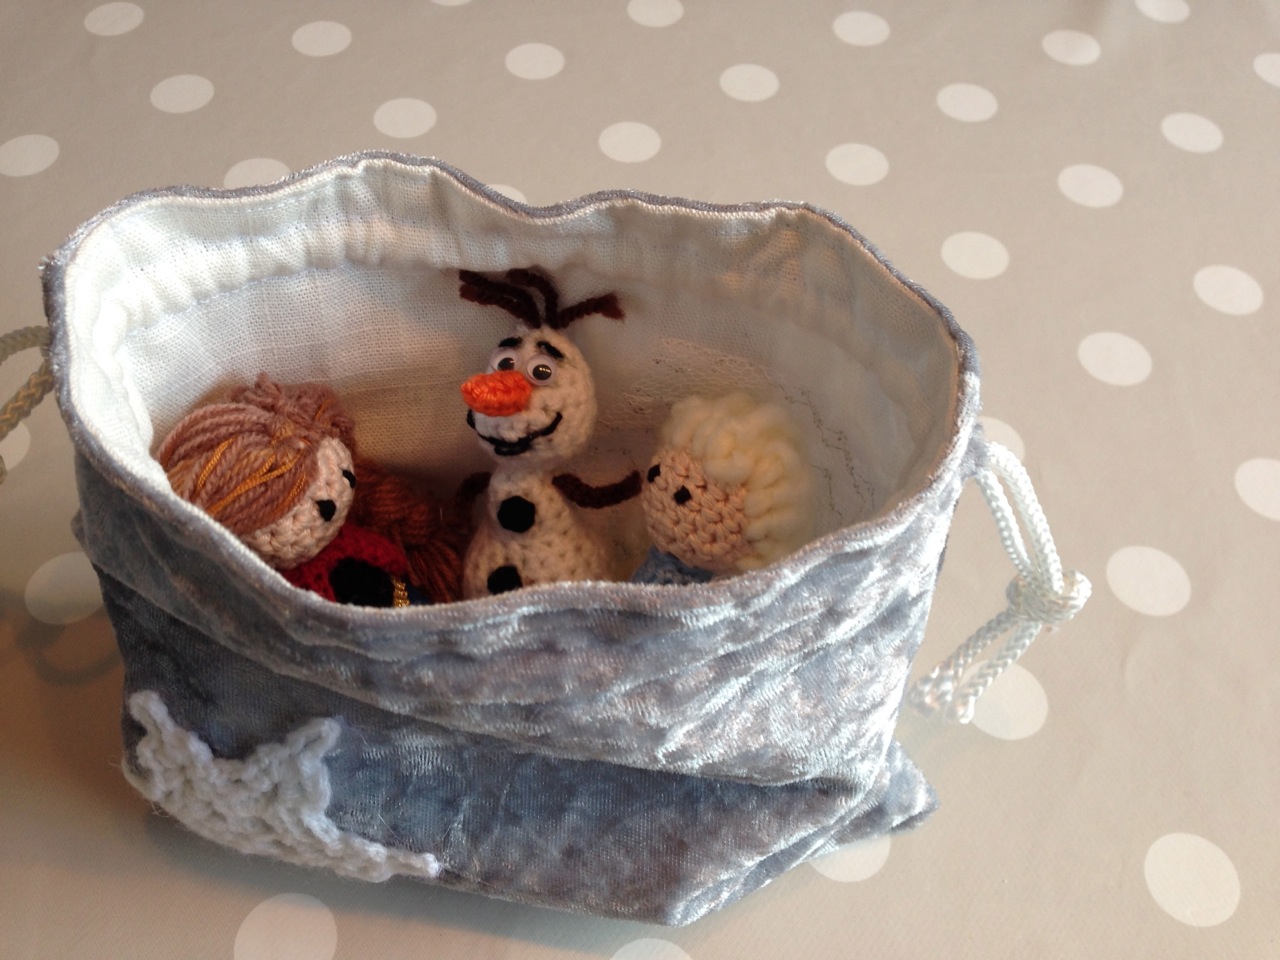
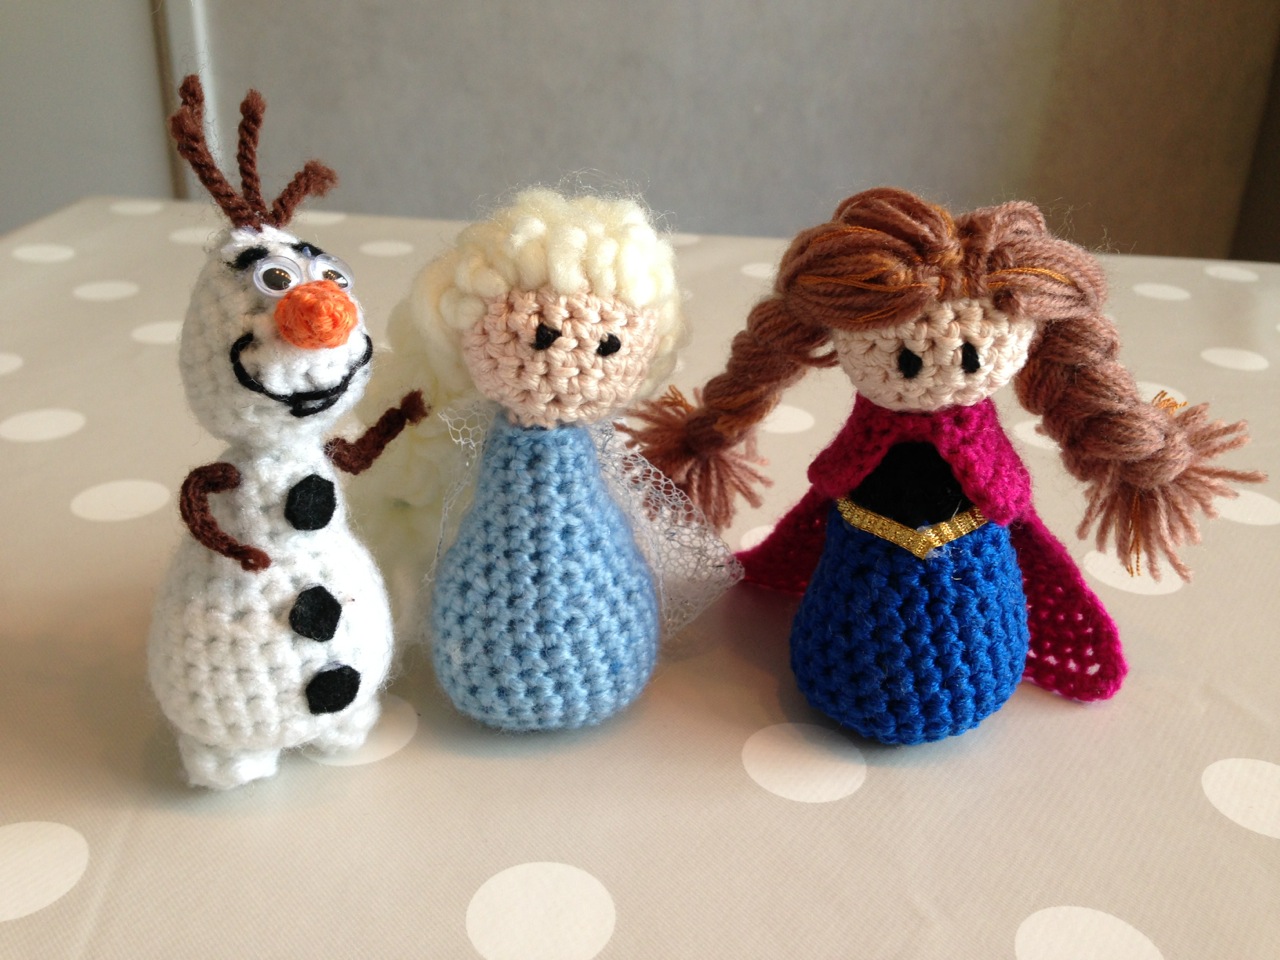
Olaf was made with white acrylic yarn. His carrot nose, crocheted with a 2.5mm hook, is orange cotton, and his twiggy arms and hair are brown acrylic. I finished him off with black felt buttons and eyebrows, and googly eyes from my craft box. Meet Olaf. He likes warm hugs:

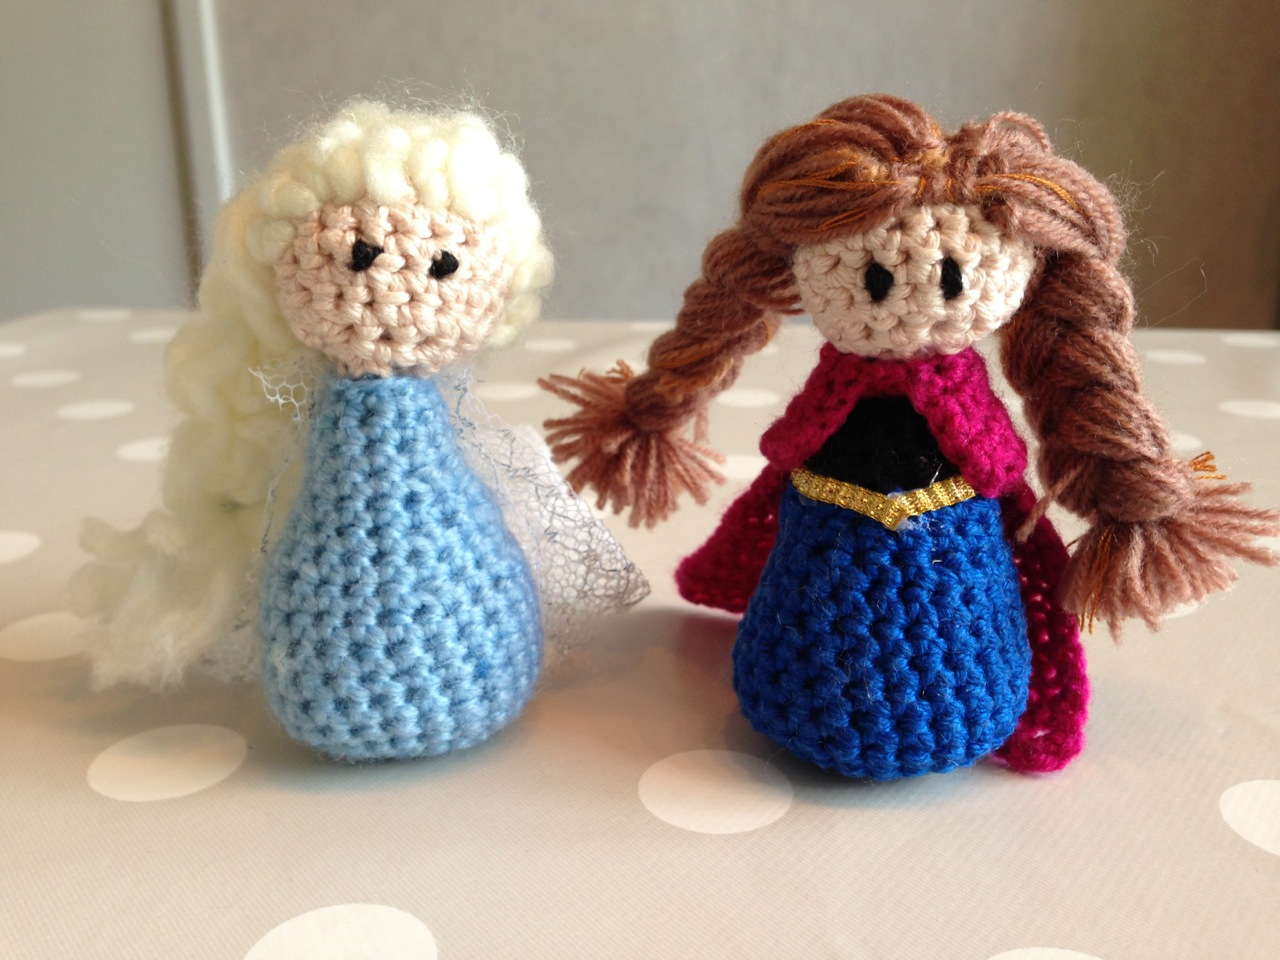
I crocheted Elsa’s dress with light blue acrylic. Her head is Catania cotton — the only yarn I could find in Scandinavian Princess skin colour. Because it’s a much thinner yarn, I crocheted double strands to make the same proportions as the body. This was tough to crochet! The base of my thumb was warm from the inflammation and it still hurts, several days later. I’m going to need to lay off the amigurumi for a few weeks or until the pain goes away. Elsa’s hair is from a tiny remnant of thick soft wool leftover from last winter. I pulled apart the strands and it immediately fluffed out. I braided it in a 2-strand braid off to one side, and stitched it down to make it stick to her body instead of springing from her head Pippi-style. I saved one strand for Anna’s streak. Elsa’s cloak is a scrap of sparkly tulle from my stash. I embroidered eyes with a scrap of black cotton yarn.
Anna’s skirt is dark blue Catania cotton, also double strands, and I switched to black acrylic a few rows from the top for the bodice. She has the same painful head as Elsa. Her hair is medium brown acrylic, along with a few strands of a random scrap of thicker brown yarn and some embroidery floss to give a “real” look to the hair colour. I don’t think I’d bother with that next time. I added a single strand of Elsa’s hair wool for the streak. A scrap of gold ribbon hot-glued around her waist finished her off her body, and I crocheted a cloak out of wine-coloured acrylic (improvised a pattern). Like Elsa, she has black embroidered eyes.
Sweet sisters:
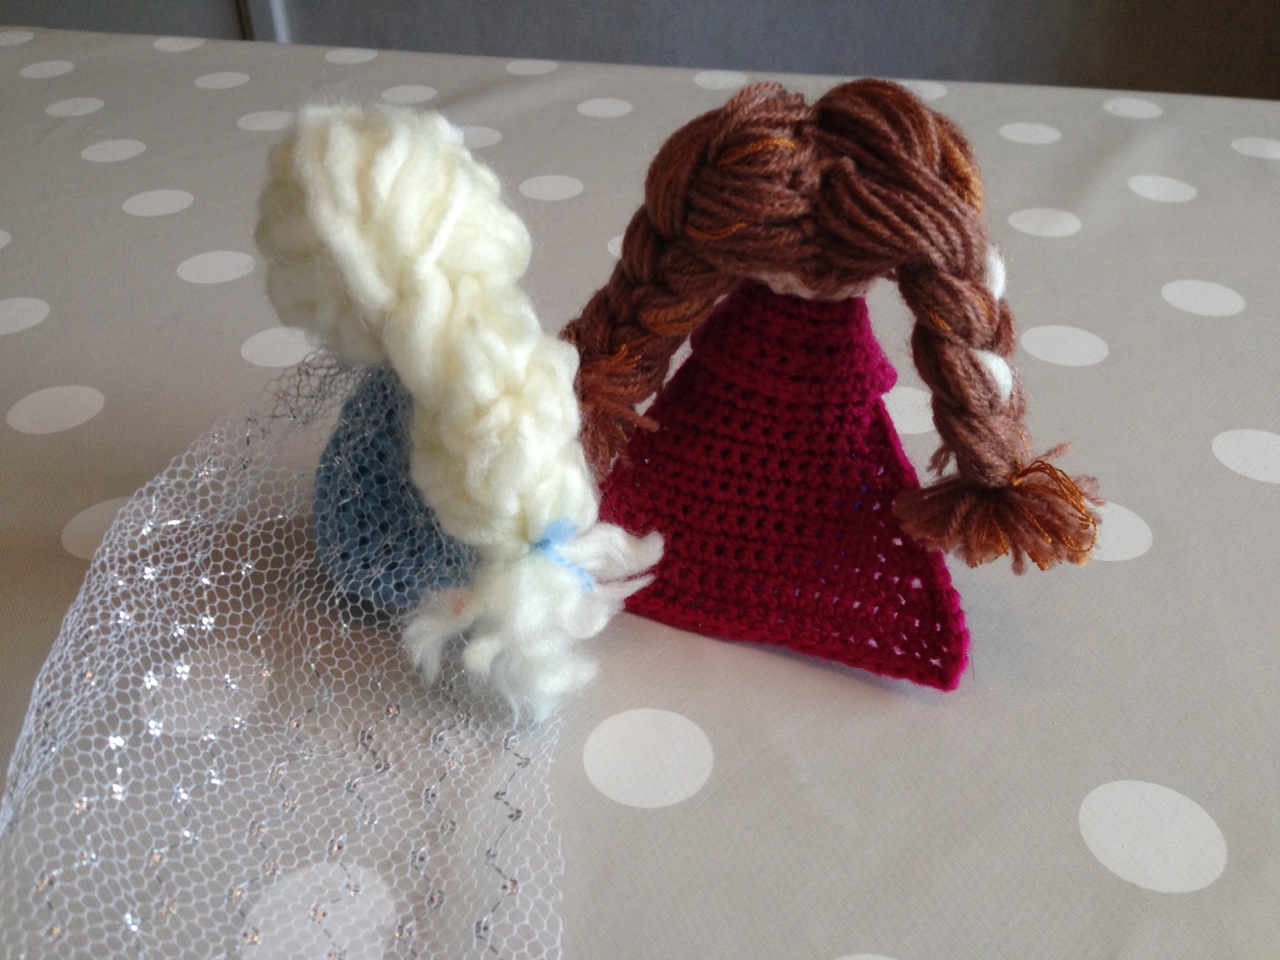
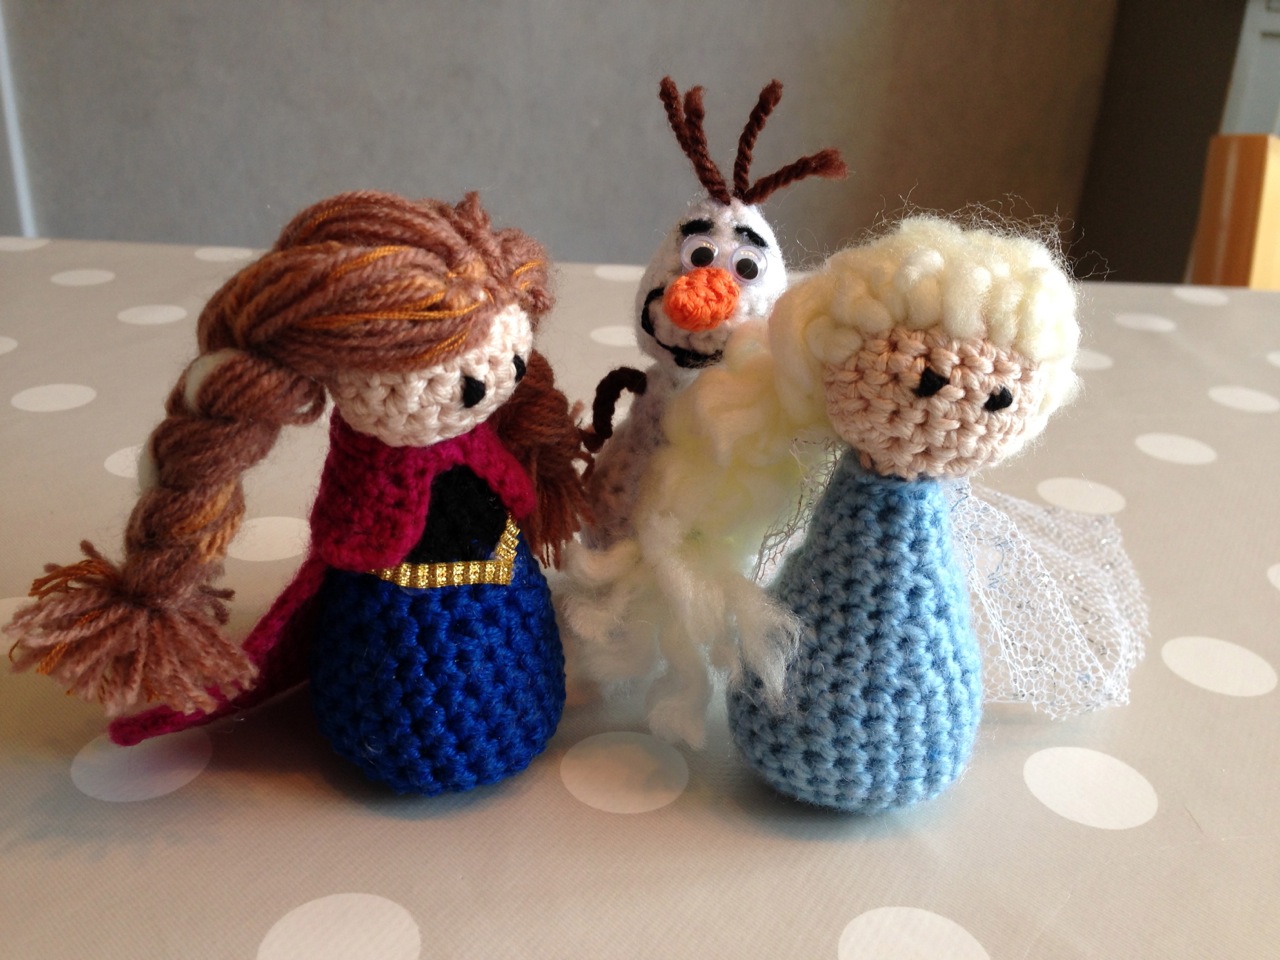
And from behind…
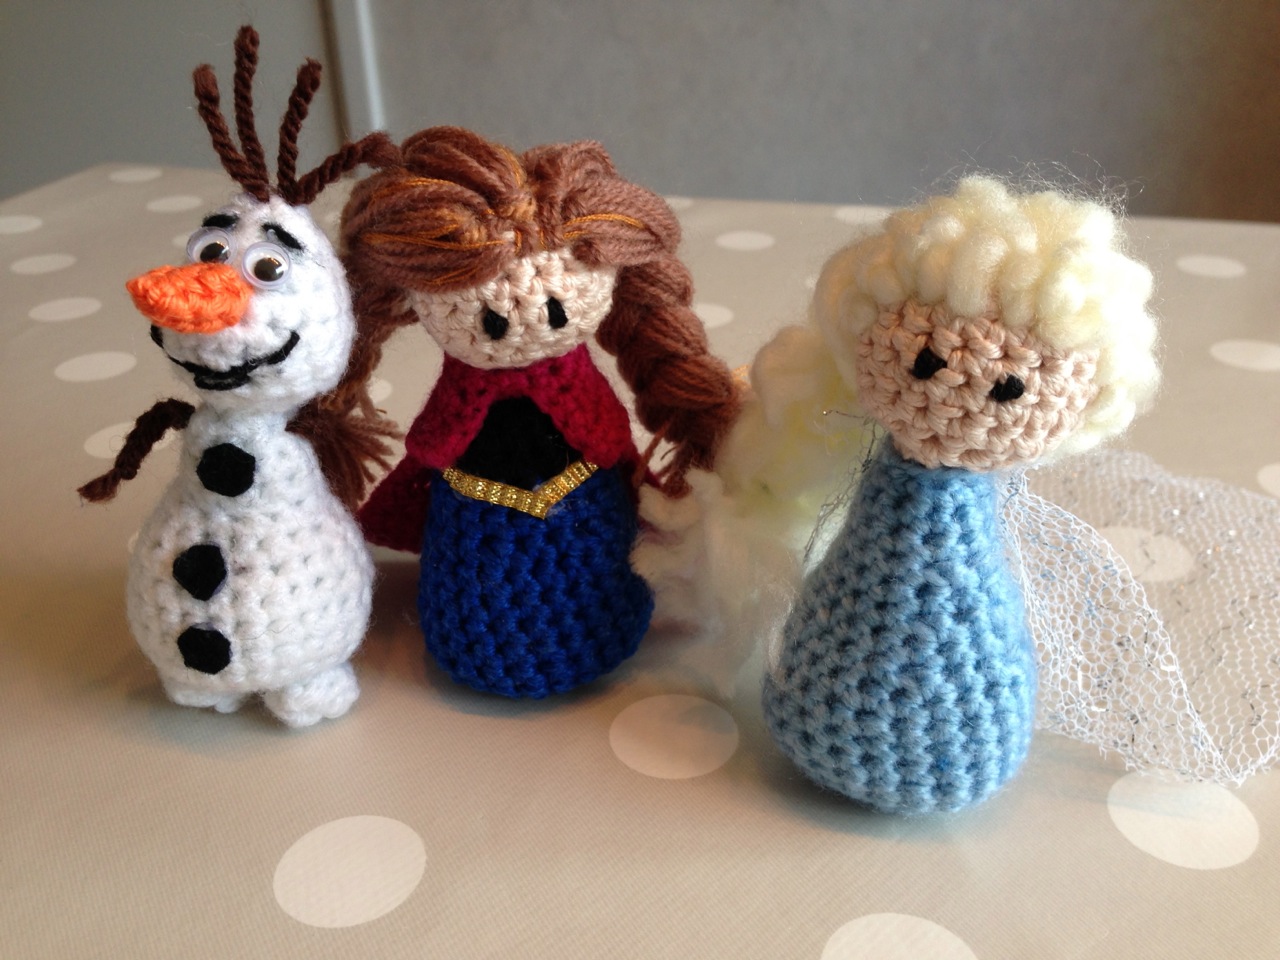
Hanging out with Olaf…
This is my favourite shot. Olaf reminds me of Donkey in Shrek. “Pick me, pick me!”
I’m probably having too much fun with this photo shoot…
For this project I had to buy the following:
White acrylic: 1.35
Brown acrylic: 1.35
Black felt: 0.50
Light blue acrylic: 0.89
Pale skin colour cotton: 2.30
Wine colour acrylic: 0.59
Medium brown acrylic: 0.59
Cost of these Things: €7.57
Cost of all Things to date: €16.68 (Aack! €1.68 over budget!)
Let some more people know...